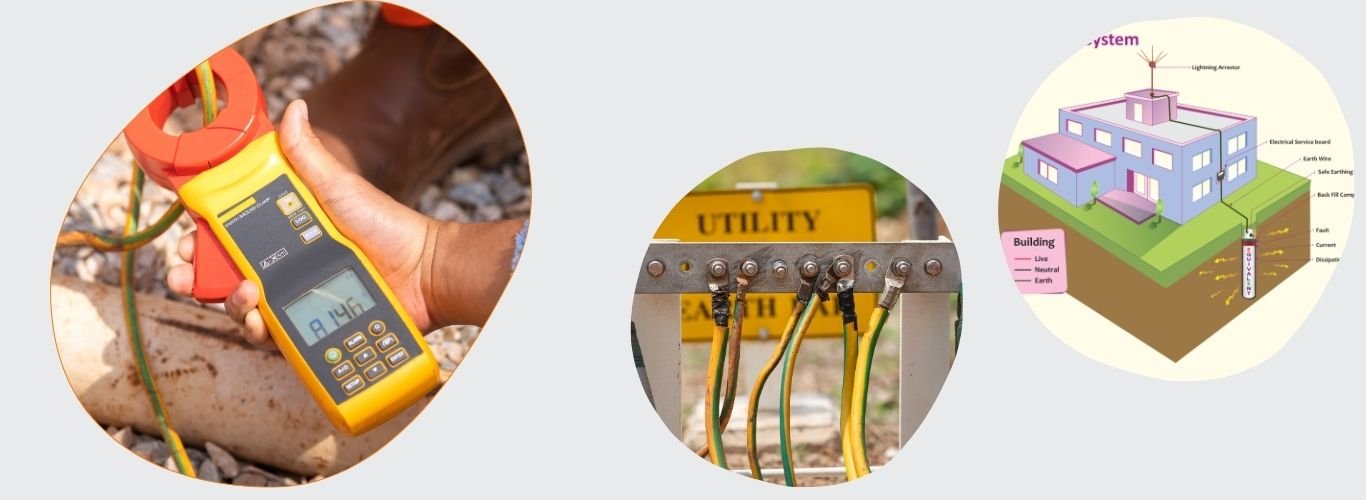
3 Steps to Effective Electrical Earthing
Electrical Earthing is a crucial aspect of any electrical installation, whether it’s in an industrial, commercial, or residential building.
It is the process of connecting conductive material to the earth to protect people and equipment from electrical hazards. However, many people overlook the importance of proper earthing, which can lead to dangerous situations like electrocution and electrical fires causing thousands of casualties in India every year.
That’s why in this article, we’ll be discussing the 3 essential steps to effective electrical earthing for industrial, commercial, and residential applications. From understanding the different types of earthing systems to selecting the right earthing components and testing the installation, we’ll cover everything you need to know to ensure your electrical system is safe and reliable.
So, whether you’re an architect, electrical contractor, engineer, or homeowner, read on to discover how to implement effective electrical earthing in your next project.
Importance of Electrical Earthing
Earthing is essential to safety and reliability in electrical installations. It prevents electrical shocks and fires by providing a path of least resistance for fault currents. Without proper earthing, fault currents can travel through electrical equipment, causing damage to the equipment and posing a significant risk of electric shock to people and may cause death. Additionally, electricity can cause fires in electrical equipment, which can be hazardous in industrial, commercial, or residential installations.
Types of Earthing Systems in India
- Marconite Earthing
- Pipe Earthing
- Plate Earthing
- Chemical Earthing
 Factors to Consider Before Installing an Electrical Earthing System
Before installing an electrical earthing system, several factors must be considered to ensure that the system is safe and reliable. Some of these factors include the soil resistivity, the earthing system type, the earthing conductor’s size, and the earth electrode’s location.
One of the most critical factors to consider is the soil resistivity. Soil resistivity is the measure of the soil’s ability to conduct electricity. It is essential to determine the soil resistivity to ensure that the earth electrode is effective. If the soil resistivity is too high, it can affect the performance of the earthing system.
Click to view how soil testing is done by Intertech Earthing Experts
The location of the earth electrode is also an essential factor to consider. The earth electrode should be located in a position where it can achieve the lowest possible resistance to the earth.
Step 1: Preparation for Electrical Earthing
The first step in installing an electrical earthing system is to prepare the site. This involves clearing the area around the proposed earth electrode and ensuring that no underground services are present. The earth electrode should be located in an area that is free from moisture and has good soil conductivity.
The next step is to install the earth electrode. The earth electrode should be installed in a vertical position and should be driven into the ground to a depth that ensures good contact with the soil. The earth electrode should be installed in a location that is easily accessible for future maintenance.
After the earth electrode has been installed, the next step is to connect the earth electrode to the earthing conductor. The earthing conductor should be selected based on the maximum fault current that the system can produce. The earthing conductor should be connected to the earth electrode using a suitable connector.
 Step 2: Installation of Electrical Earthing System
The second step in installing an electrical earthing system is to install the earthing system components. This involves installing the earthing conductor, the earth bar, and the earthing electrodes.
The earthing conductor should be installed in a straight line between the earth electrode and the earth bar. The earthing conductor should be installed in such a way that it is protected from mechanical damage and corrosion.
The earth bar is used to connect all of the earthing electrodes and the earthing conductor. The earth bar should be installed in a location that is easily accessible for future maintenance.
Finally, the earthing electrodes should be installed. The number of earthing electrodes required depends on the maximum fault current that the system can produce.
 Step 3: Maintenance and Testing of Electrical Earthing System
The final step in ensuring effective electrical earthing is maintenance and testing. Regular maintenance and testing are essential to ensure that the earthing system is working correctly.
Maintenance involves inspecting the earthing system components for signs of damage or corrosion. The earthing conductor should be checked for signs of mechanical damage or corrosion. The earth bar should be checked for signs of corrosion or damage to the connections. The earthing electrodes should be checked for signs of corrosion.
Testing involves measuring the resistance of the earthing system. The resistance of the earthing system should be measured using a suitable earth tester. The resistance should be measured at regular intervals to ensure that the earthing system is working correctly.
Electrical Earthing Standards and Regulations
Electrical earthing is subject to standards and regulations that ensure that it is safe and reliable. In India, the Bureau of Indian Standards (BIS) has published several standards related to electrical earthing. These standards define the requirements for earthing systems and specify the methods for testing and maintenance.
It is essential to ensure that electrical earthing installations comply with these standards and regulations to ensure that they are safe and reliable.
Conclusion
In conclusion, electrical earthing is a crucial aspect of any electrical installation, whether it’s in an industrial, commercial, or residential building. It is essential to ensure that electrical earthing installations are safe and reliable to prevent dangerous situations like electrocution and electrical fires. By following the three essential steps of effective electrical earthing, understanding the different types of earthing systems, selecting the right earthing components, and testing the installation, you can ensure that your electrical system is safe and reliable.


